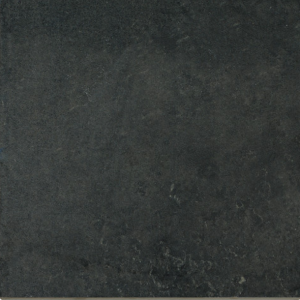
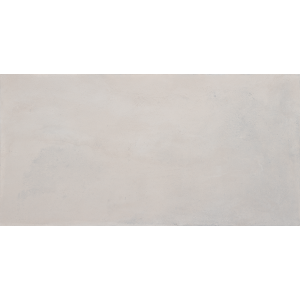
Ciatna Anthracite
In stock
description
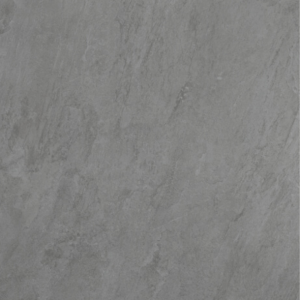
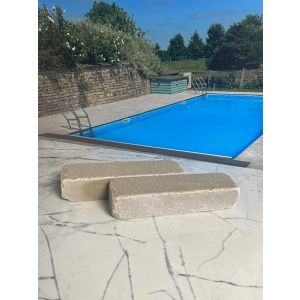
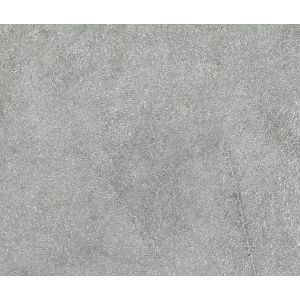
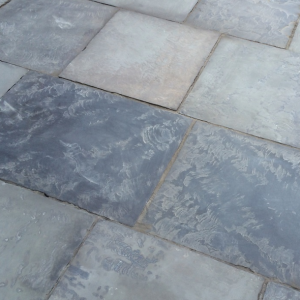
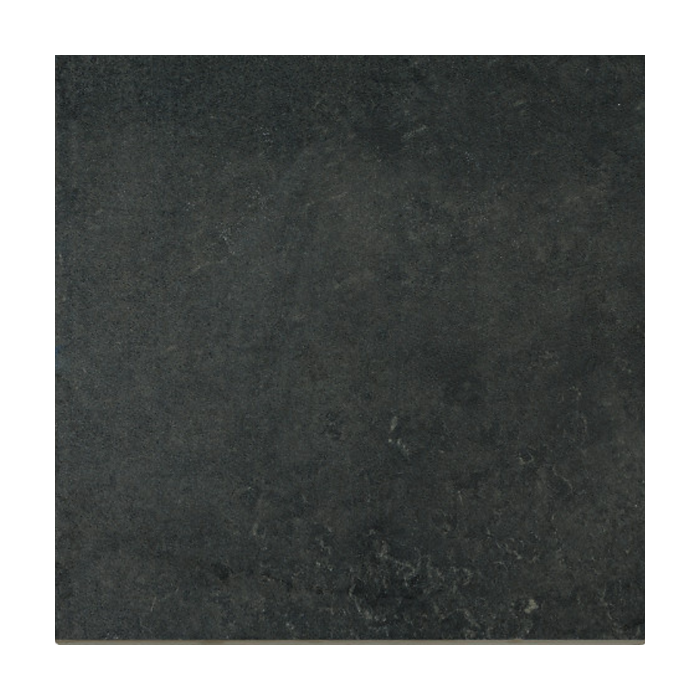
CIATNA ANTHRACITE Porcelain Paving’s smooth, matt grain has been given a slip-resistant, “natural” texture reminiscent of riven slate. The charcoal grey/black colouring of these outdoor tiles adds smoky depths to modern and classic designs and is a great alternative to Brazilian Black Slate. Available in 600x600 & 900x600 tile. Use these patio tiles with matching off-the-shelf step treads and coping stones to complete a striking design.
Tiles: 600/900 x 600 x 20mm Provenance: Hungary Slip Rating: R11 Steps: Matching steps in stock with various edge detailing options. Bespoke: Free-form shaped copings & bespoke work priced on application, with ability to create, downstand copings, pencil roll, half bullnose and various coping sizes within a 900x600 dimension.
Good To Know
What is porcelain?
Porcelain is a man-made material created by baking a mixture of clay, sand and other minerals. These are then put into a high-temperature kiln. From this, an incredibly durable and non-porous material is created, known as porcelain. The benefits to porcelain are huge and since 2015 has taken the UK market by storm, it's hard non-porous surface means its highly durable, resistant to moss and lichen which you often find on natural stone and therefore is easy to maintain with minimal amounts of maintenance.The low porosity of porcelain paving makes it very suitable for our damp climate. The slabs don’t absorb moisture and will therefore not be degraded by the frost/thaw processes that occur during our winter, which can cause natural stone to flake, and terracotta to crack.
For any assistance please use the LETS CHAT icon on the bottom right of your screen and our helpful team will connent with you, alternatively you call email info@basepaving.co.uk or call 01235 642700.
Laying Guide
How do I lay porcelain?
Laying porcelain paving is slightly different to laying natural stone paving. See our expert advice below
Step 1 - Prepare the site by digging out the site as usual, checking levels and drainage as you would for a natural stone patio.
Step 2 - Lay a sub base of compressed scalpings to create a firm and level foundation on which to lay the porcelain paving. We recommend 100mm depth. This will create a free-draining sub base which is always necessary if you are using our jointing compound.
Step 3 - Prepare a mortar mix of at least 6:1 mixed sand to cement, which is to be laid as a full bed. More accuracy is required here than you might ordinarily need with a natural stone patio, as in the next step you will not have as much leeway for tamping down slabs to achieve their perfect level.
Step 4 - Due to the non-porous nature of porcelain paving, it is necessary to create a bonding bridge, so that the slabs will adhere to the base. If you omit this step, your paving will fail quite quickly after laying.
Before starting to lay the porcelain slabs it is necessary to prime the back surface of each slab. Paint the reverse side of each slab with either a ‘slurry mix’- a wet cement mix, or a proprietary resin based primer. The slurry mix is the cheaper method, but can be messy, whereas the pre-prepared primer is easier to use, but costs a lot more.
Step 5 - Lay the primed porcelain pavers on the full bed of mortar of 40-50mm thick.
N.B. We often receive queries regarding this point, as some experienced landscapers will lay porcelain slabs on ‘pedestals’ (ie several 50mm high blobs of mortar- at each corner and in the centre) or work over the top of an existing patio or hard surface. Neither of these methods are wrong. However, they are not foolproof methods. To ensure a good finished result that has longevity, a solid sub-base must be created. Any movement beneath the patio will cause cracking eventually on the patio surface. Its your call! Furthermore, when working over an existing surface, it is very important to ensure that the increased height does not breach the damp proof course on any adjacent buildings.
Therefore we prefer to recommend the full mortar bed method.
Pavers will require tamping into position. Although porcelain pavers are strong, they will not withstand excessive hammering, therefore careful efficient tamping down is required. In order to get a strong bond between the mortar bed and the underside of the slab it is necessary to ensure at least 70% of the paver is in contact with the mortar bed.
The strength of the completed surface relies on the bond between the mortar and the slab, therefore this stage is the most important.
Step 6 - As the pavers are laid, joints of 5mm should be left, using spacers to ensure an even jointing space throughout.

